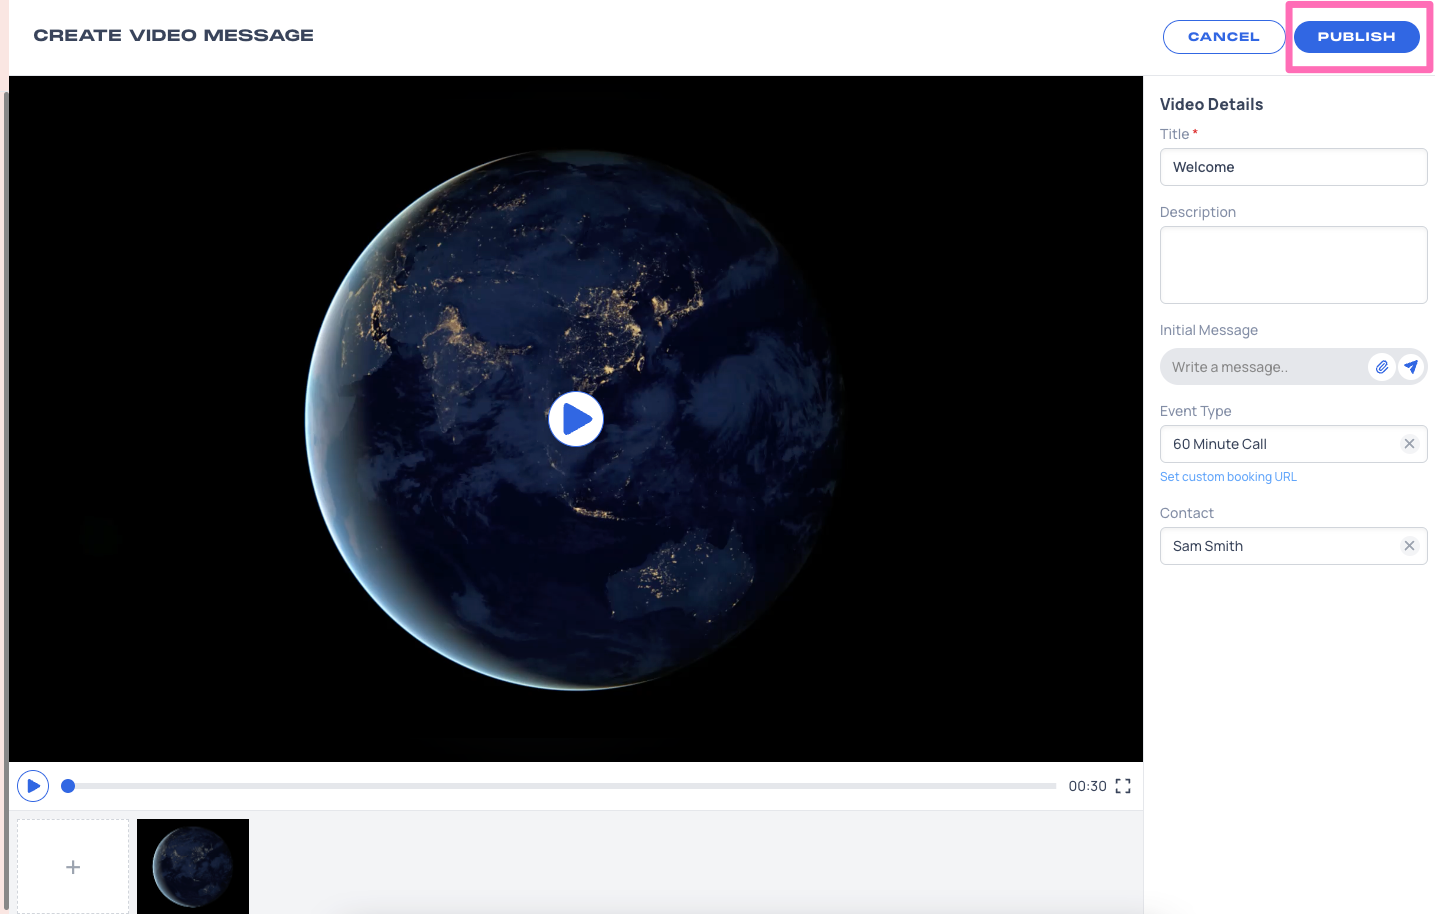
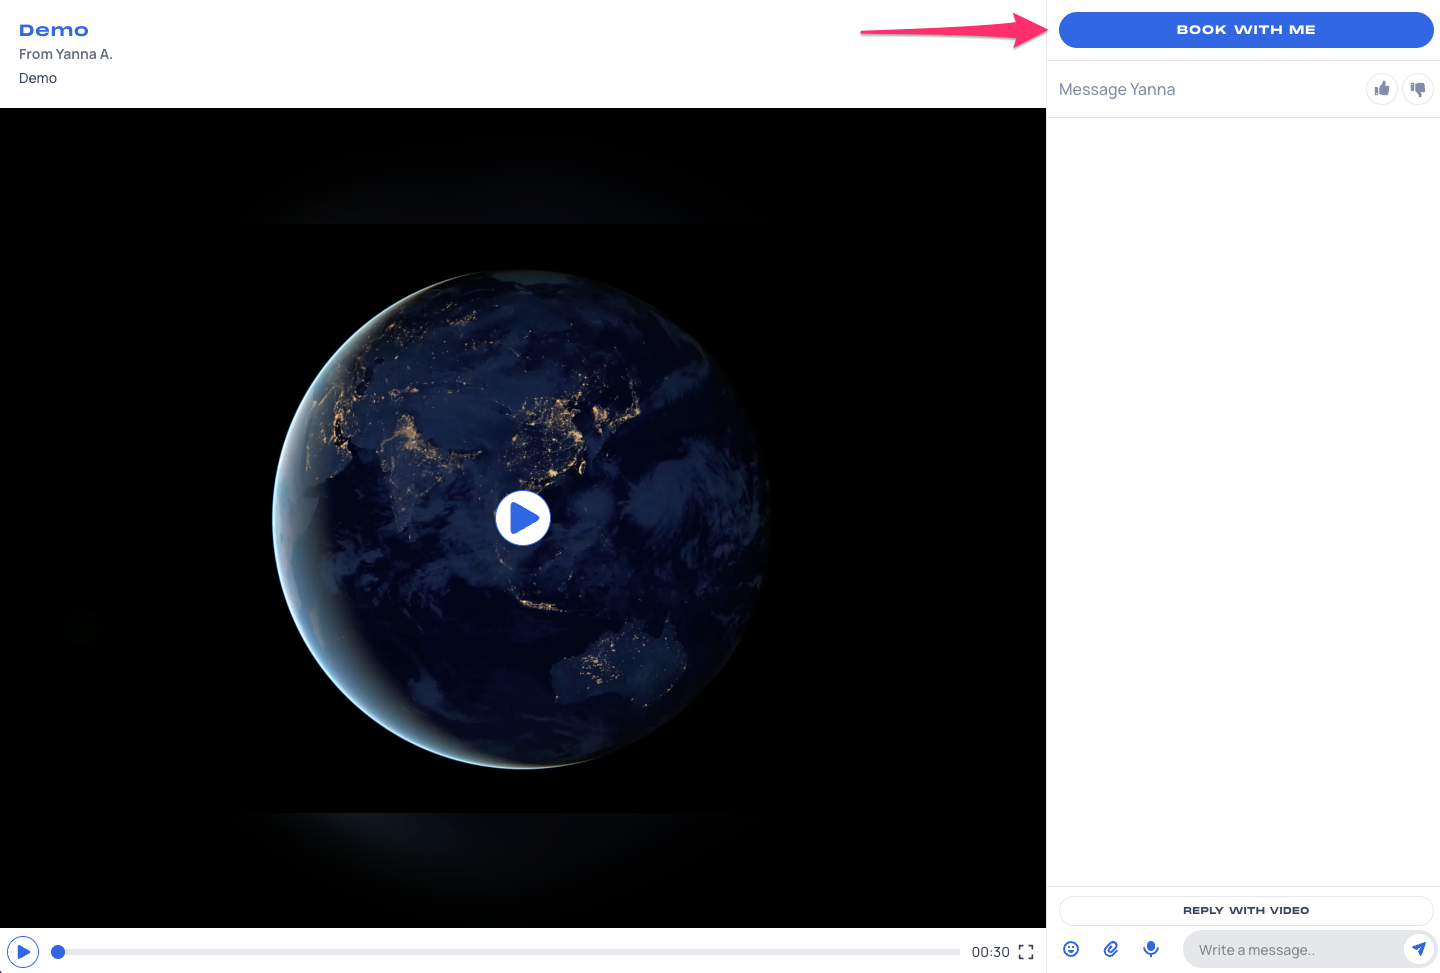
When creating a Telloe Video Message, you can easily link an existing Event Type or a custom booking URL so that people can easily schedule a meeting with you.
A "Book with me" button shows up at the upper right-hand side of your video message and this redirects people to your Telloe booking page or to another booking platform.
 This article will guide you in creating a video message and adding a custom booking URL to it.
1. Click on Video Messages under Communication on your Telloe Dashboard.

2. Click Add New in the pink box, or click the blue Create Video button in the top right corner of your screen

3. Enter your video's details:
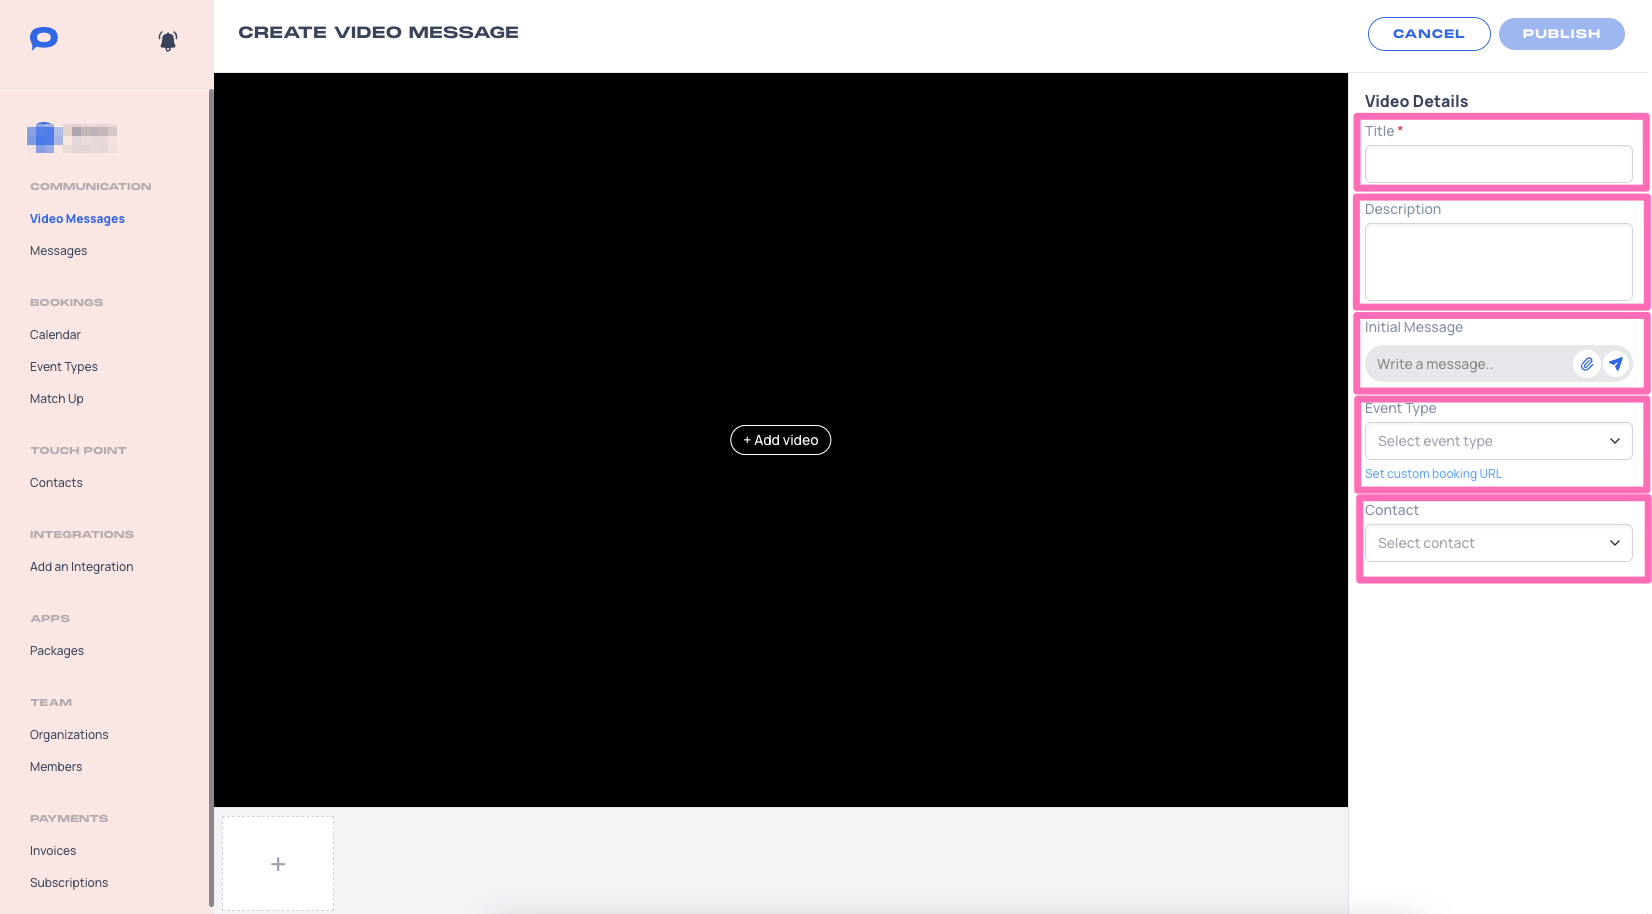
- Title: The name of your video which can be seen by contacts who view the video.
- Description: The description of your video tells contacts about your video.
- Initial message: The default message sent to recipients of your video. This message will be sent in the video's own chat box where you can receive comments from contacts. You can also attach files by clicking the paperclip icon. To send your message you must click the airplane icon after typing your initial message.
- Event type: You can choose your existing event types in Telloe. This is the event type you want contacts who receive this video to book with you. You can create a new event type here.
- Set custom booking URL: Click this link to insert a link from another booking platform.
- Contact: The contact you want to send your video to when the video is published. Don't worry, you can send your video to other people too!
4. To add clips to your video message, click the "+" button in the timeline, or click "+Add Video".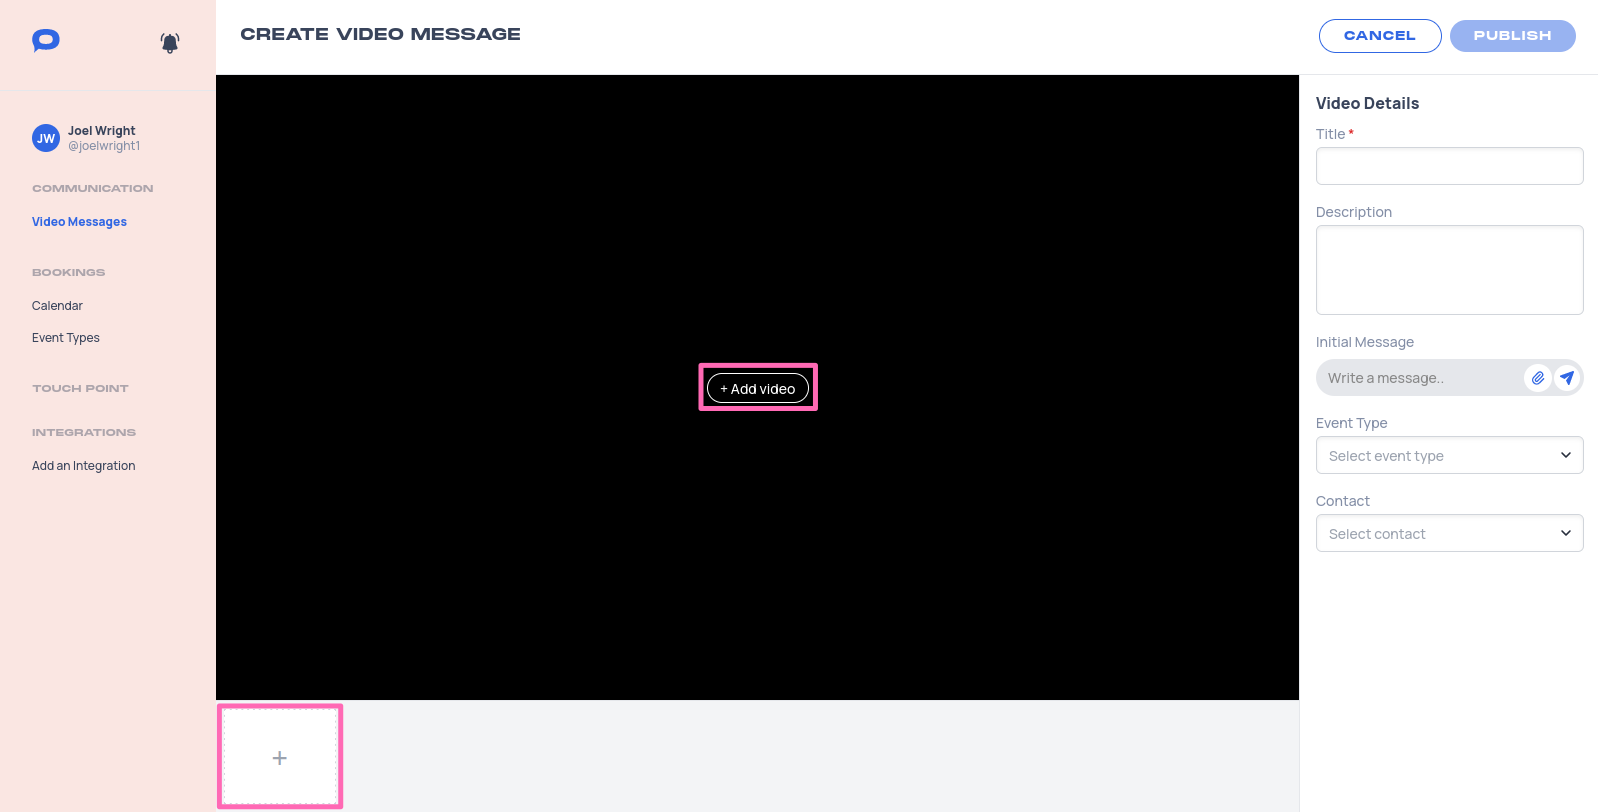
5. This will open a section where you can select your desired media, or record new media to add right into your video message.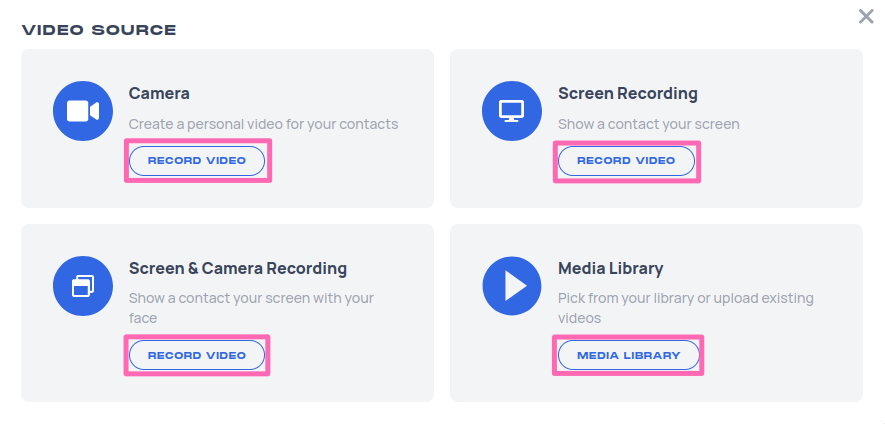
- Camera: Use your camera to record a face-to-face video where you can directly address contacts. You will be asked by your browser to select your desired camera input.
- Screen Recording: Record your screen or a specific window to show contacts what you need them to see. You will be asked by your browser to select your desired screen or window input.
- Screen & Camera Recording: Record your screen with your face overlaying it. You will be asked by your browser to select your desired camera and screen input.
- Media Library: Select videos and images from your library to use in your video. Your library holds all your previously recorded clips and also allows you to upload new files.
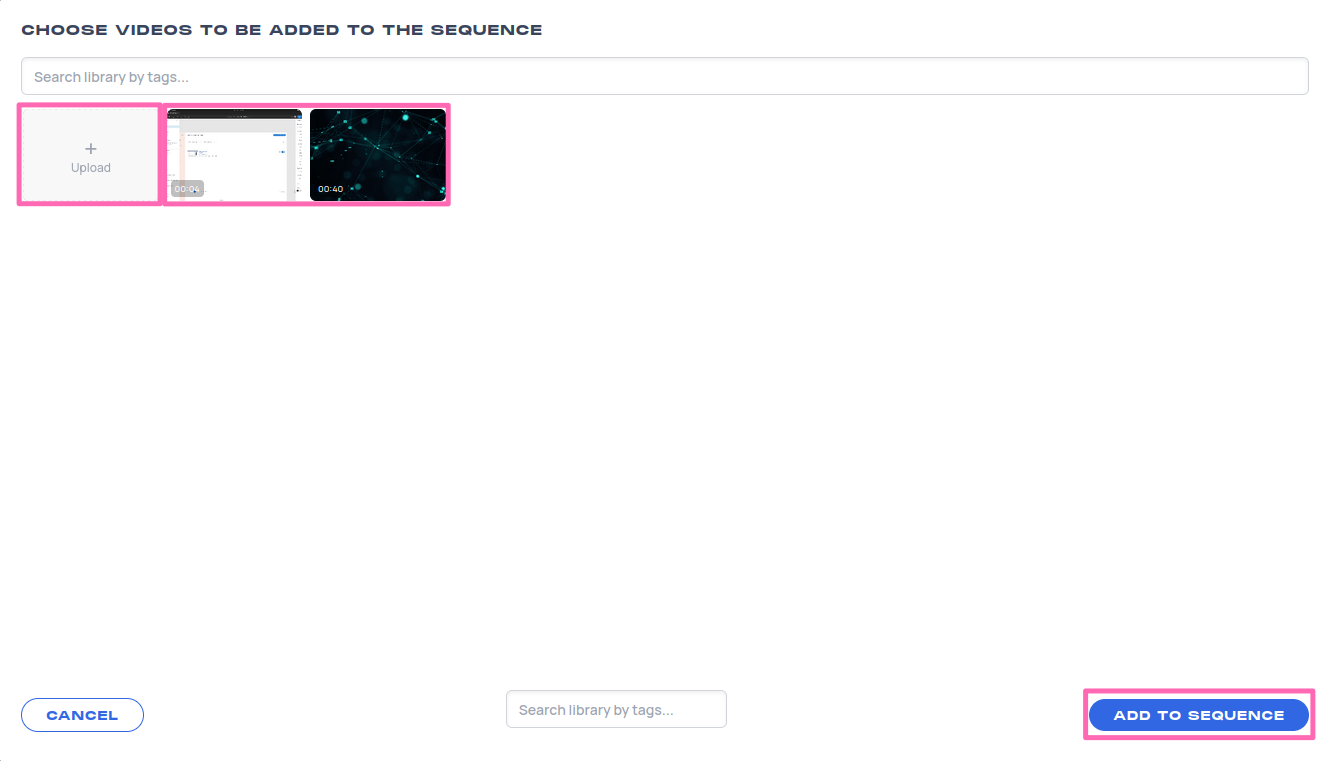
Upload clips saved to your device by clicking the Upload button or select multiple of your previously saved clips by clicking them. Once you've selected your desired clips, click the blue Add To Sequence button.
6. Once you click the blue Publish button in the top right, your video will be processed and added to your Video Messages List.